How to Create Group in Azure AD
Steps to create Group and Users in Azure AD
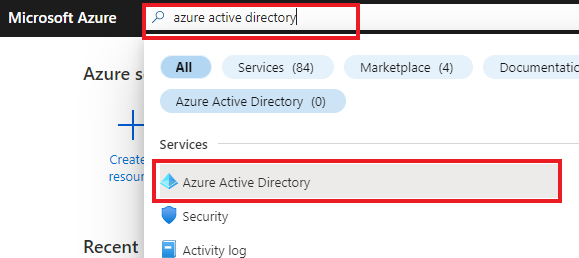
- Sign in to Azure Portal
- Click on the Search Bar, search and select Azure Active Directory
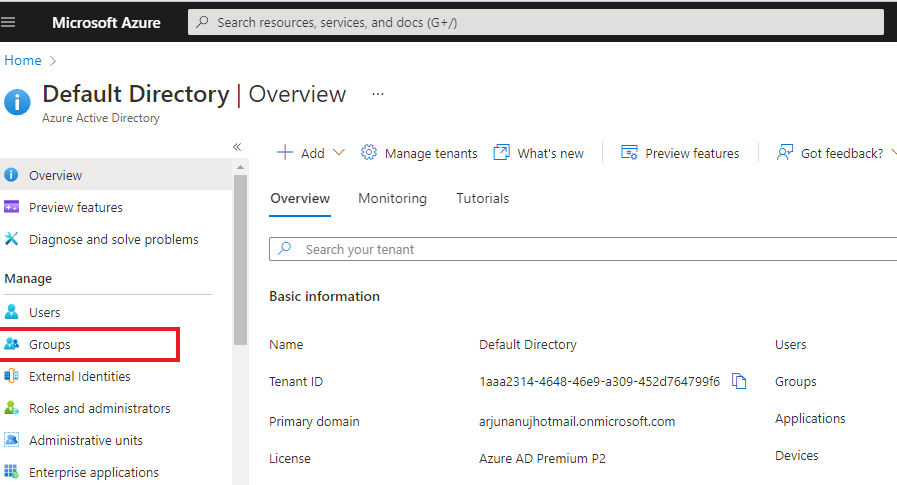
- Now click on Groups
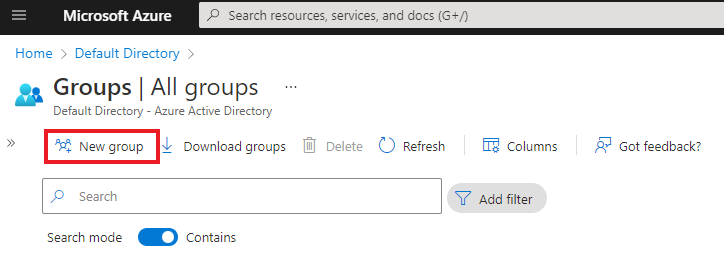
- click on New group option
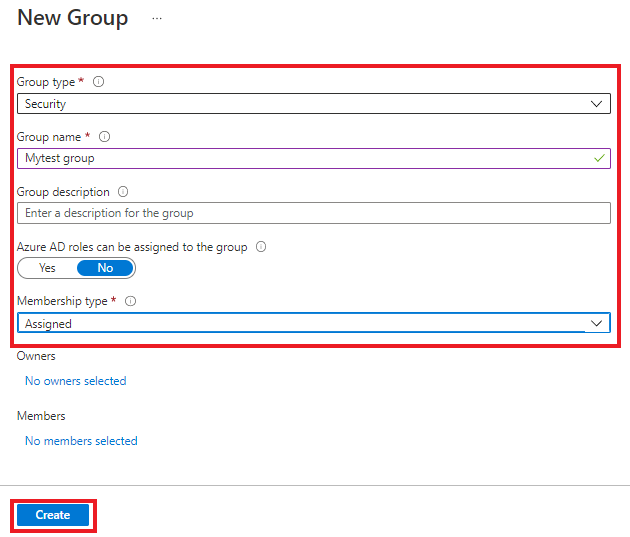
- Now fill the following details under New group blade
- From the Group type list, select Security.
- In the Group name field, enter a name for the group, for Example Mytest group
- In the Group description field, you can enter a brief, but meaningful description for the group
- Select Assigned under membership type option
- Now click Create
Note:-The Dynamic option requires at least a Premium P1 license in Azure AD. If you do not meet this requirement, the dropdown is automatically set to Assigned and you will not be able to select the Dynamic option.
- The Groups | All groups pane appears, including the new group in the list of Groups.
- You can now assign members to your group.
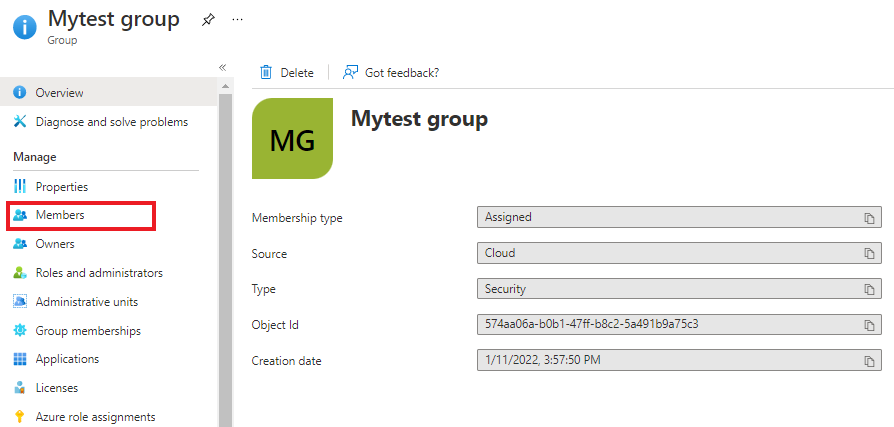
- Now select your Group and your group pane will be appear
- The Groups | All groups pane appears, including the new group in the list of Groups.
- You can now assign members to your group.
- Now select your Group and your group pane will be appear. In the left menu pane, under Manage, select Members
- Now click on +Add member, add a member and click Select
