How to Create tenant in Azure AD
A tenant represents an organization in Azure Active Directory. you can create a new tenant for your organization. it helps you to manage a specific instance of Microsoft cloud services in your organization.
In this Blog you’ll learn how to create a basic tenant. Follow the below steps to create a Tenant in Azure.
Steps to create Tenant in Azure AD
- sign in to your organization’s Azure Portal
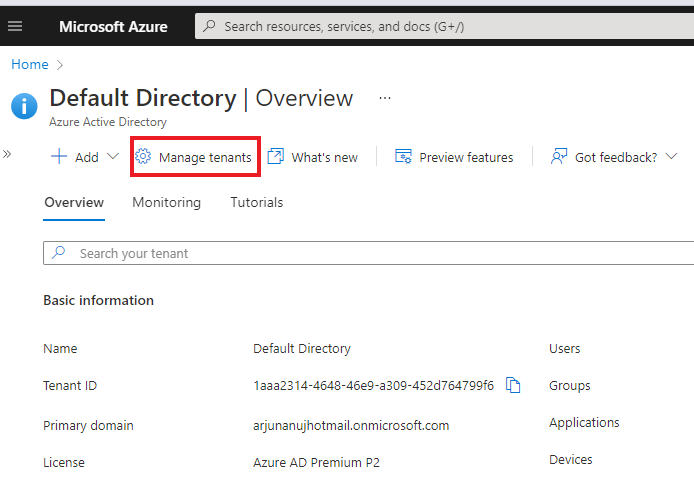
- Click on the Search Bar, search and select Azure Active Directory

- Now click on Manage tenant
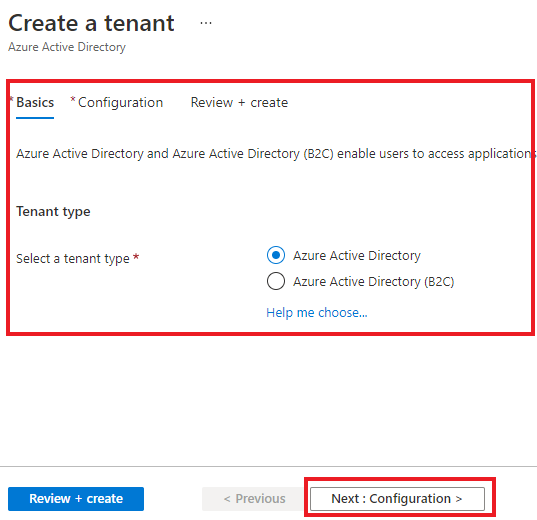
- Then Click +Create

- Now under Basic tab select the type of tenant that you want to create, either Azure Active Directory or Azure Active Directory (B2C). Then Click: Next Configuration
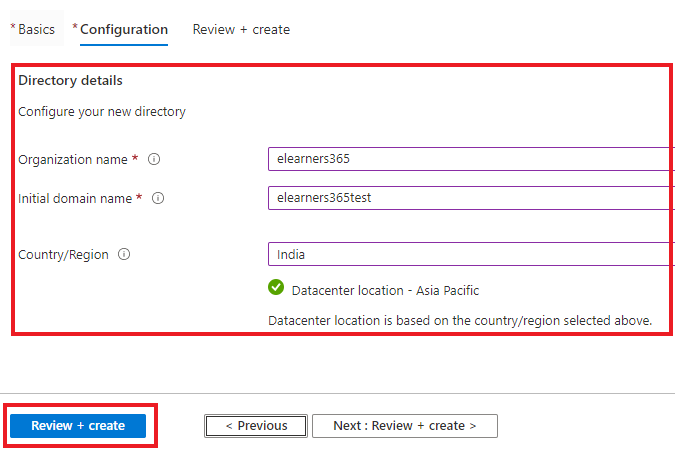
- On the Configuration tab, enter the following information:
- Type your Organization name in organization name box.
- Type initial domain name in Initial domain name box.
- Select the country/Region.
- Then click Review + Create
- Azure will validates the above details internally and will show a message “Validation passed” and then click Create button at the bottom of the page
