
How to create Virtual Machine in Azure
In this article you will learn how to create a Virtual Machine using Azure Portal. Here we will create VM with Windows server 2019 OS. Follow the below steps to create a virtual machine in Azure.
Steps to Create Windows Virtual Machine
- Log in to the Azure Portal.
- Click On the three line of Home screen and select +Create a resources.

- Under Compute section Click Create in Virtual Machine.

- Now Fill the following detail under the Basic tab :-
- Under Project details select your subscription
- select the create new and type the name of new resource group and Click Ok

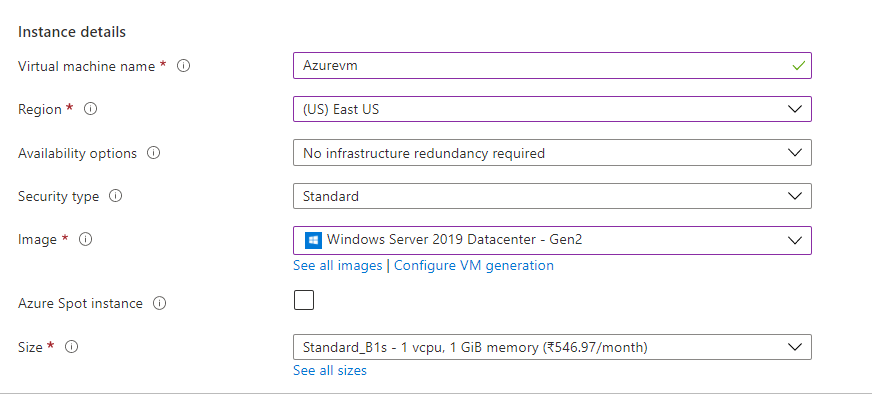
- Under Instance details fill up the following details and leave the other defaults
- type a name for your Virtual Machine such as Azurevm
- Select the region where you are going to create resources.
- Select the image of Operating System, eg ; Windows Server 2019 Datacenter
- Choose the size of VM according to your requirements.
- Leave the other options Default.
- Under Administrator account fill up the following details
- Select Password as authentication type
- Type a username such as ; Azureuser
- Type a password and confirm your password

- Now Click on the Next : Disk
- in OS disk tab you can add the disk architecture that you want. I kept the default option as it is
- Leave Encryption Type Default and than click next; Networking

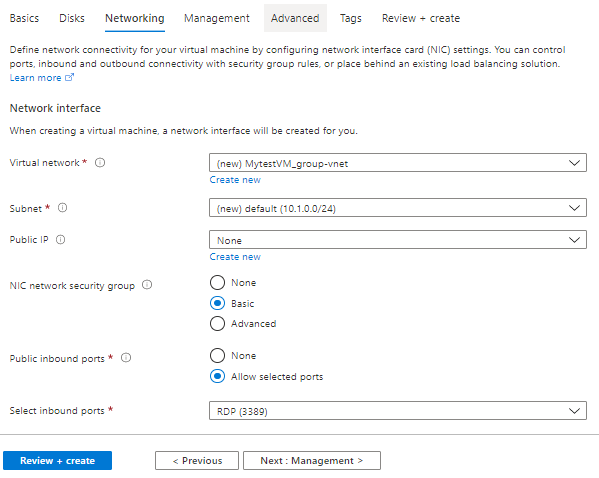
- Now you can fill the below details in the Networking tab
- Choose a virtual network or else you can create a new one by clicking the “Create New” link.
- Leave the Subnet Default
- choose Allow selected ports in Public inbound ports and leave other defaults
- Now for other tabs all the options you can keep as it is. Once you fill all the above details click on the “Review + Create”
- Azure will validates the above details internally and will show a message “Validation passed”.

- Then click “Create” button.
Arjun
Thanks for posting, very useful