
How to Create VNet (Virtual Network) in Azure
In this blog you will learn how to create a VNet using the Azure portal. VNet (Virtual Network) is an isolated network within the Microsoft Azure. VNet enables Azure resources ,like Virtual Machines to safely communicate with each other.
Steps to Create a VNet (Virtual Network)
- Login to the Azure Portal
- Click on the three line of the home screen and select All Services
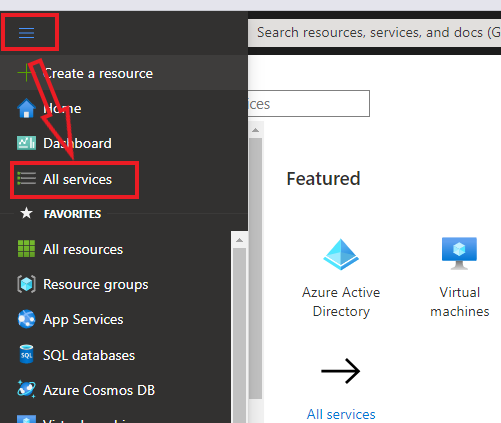
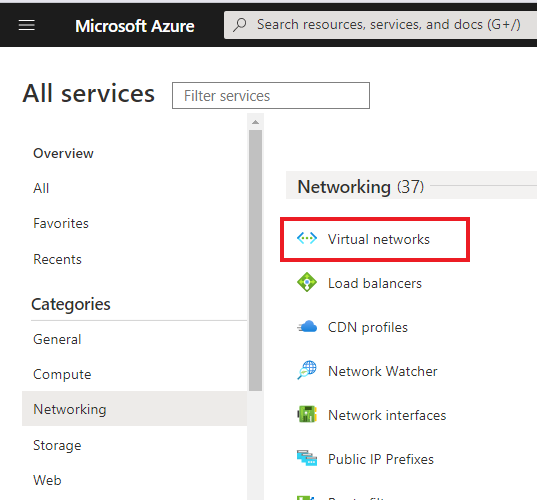
- Now under Networking section Click Virtual Network
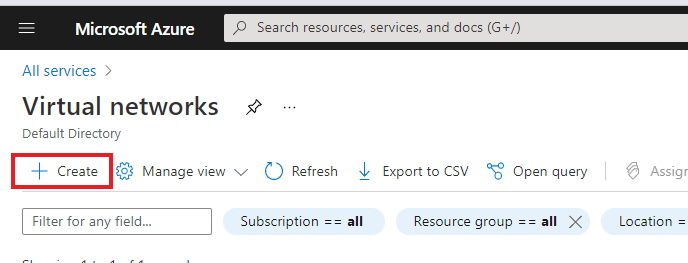
- In Virtual network blade Click +Create
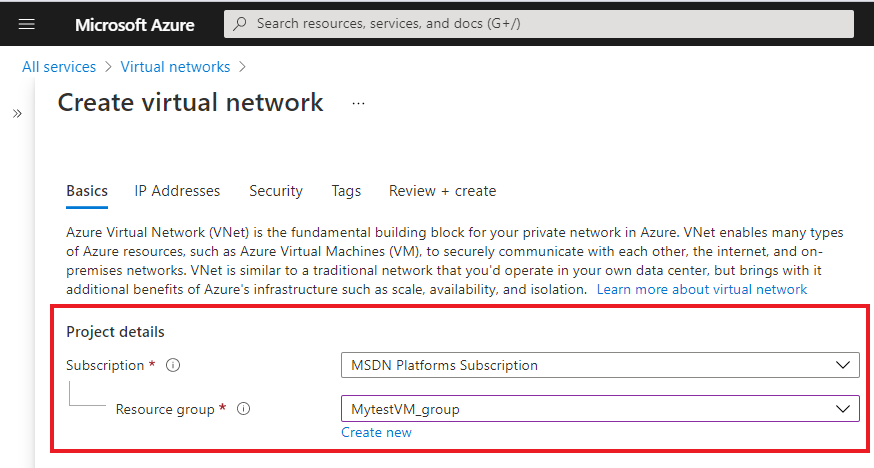
- Now Fill the following detail under the Basic tab :-
- Under Project details select your subscription
- select the create new and type the name of new resource group such as MytestVM_group and Click Ok
- Under Instance details fill up the following details
- Type the name for your VNet such as MyVnet
- Select the region such as East US
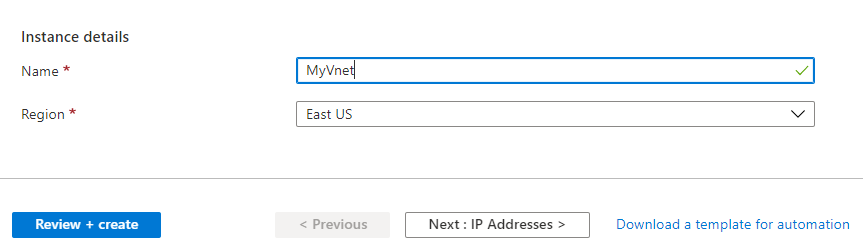
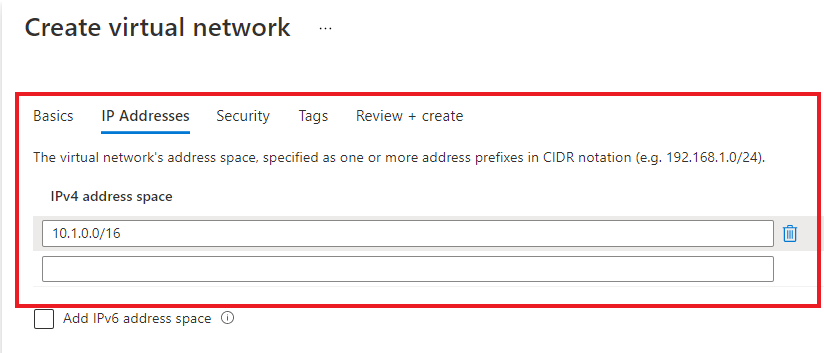
- Now Click on the Next : IP Addresses
- In the IPv4 address space, Azure has pre-populated the address space 10.1.0.0/16 you can change IPv4 address space by selecting the existing address space or you can add new address space below that.
- select the default subnet or If you want to add subnets, select + Add subnet, then enter the subnet name and Subnet address range and Click Add
- Then click Next; Security

- In security tab review all the options and leave as it is.

- Now for other tabs all the options you can keep as it is. Once you fill all the above details click on the Review + Create
- Azure will validates the above details internally and will show a message “Validation passed”.

- Then click Create